Some cross stitch patterns are made up of only Xs. And the more Xs you stitch, the more clear the picture.
Outline stitches add definition to cross stitch projects, while allowing you to create these details with fewer Xs. They are also used in smaller stitched fonts.
Back Stitch
I’ll never understand why some stitchers don’t like to back stitch. It’s my favorite part of the pattern! It means you’re nearly done. And it really does add that necessary finishing touch to a lot of projects.
This quick video walks you through back stitch.
To do a back stitch, start with the needle pushing through from the back to the front of the fabric. Then, push the needle down the front of the fabric along the outside of a cross stitch square, creating a border around or in between the stitches.
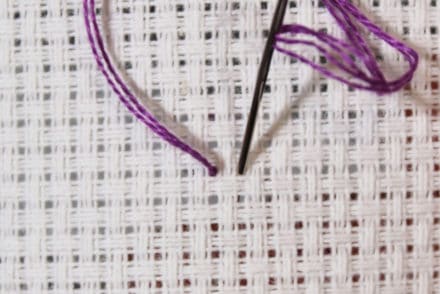
Next, skip ahead one square and push the needle up again from the back. See the example in the Back Stitch Figure 2 picture below.
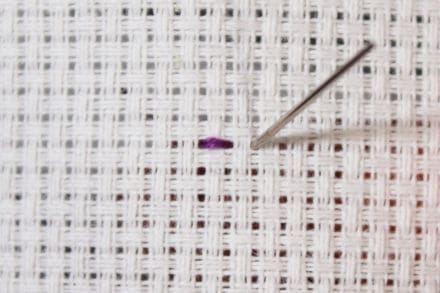
Then, go “back” one square to put the needle through from the front, as in the picture below Back Stitch Figure 3.
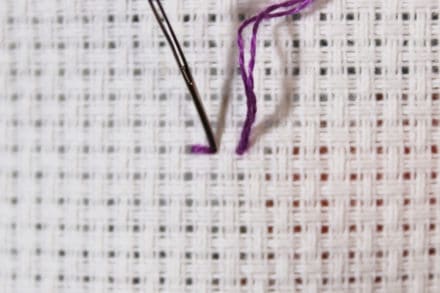
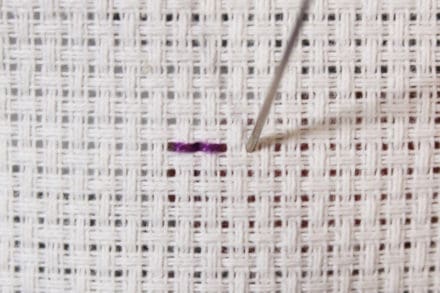
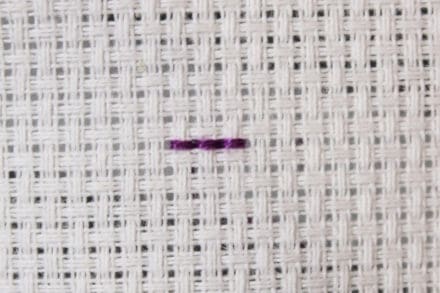
Finally, follow the pattern, completing the border or outline in back stitches for that color floss.
Long Stitch
Long stitch is done the same way as back stitch. The difference is that Long Stitch can cover more than one fabric square in a single stitch.
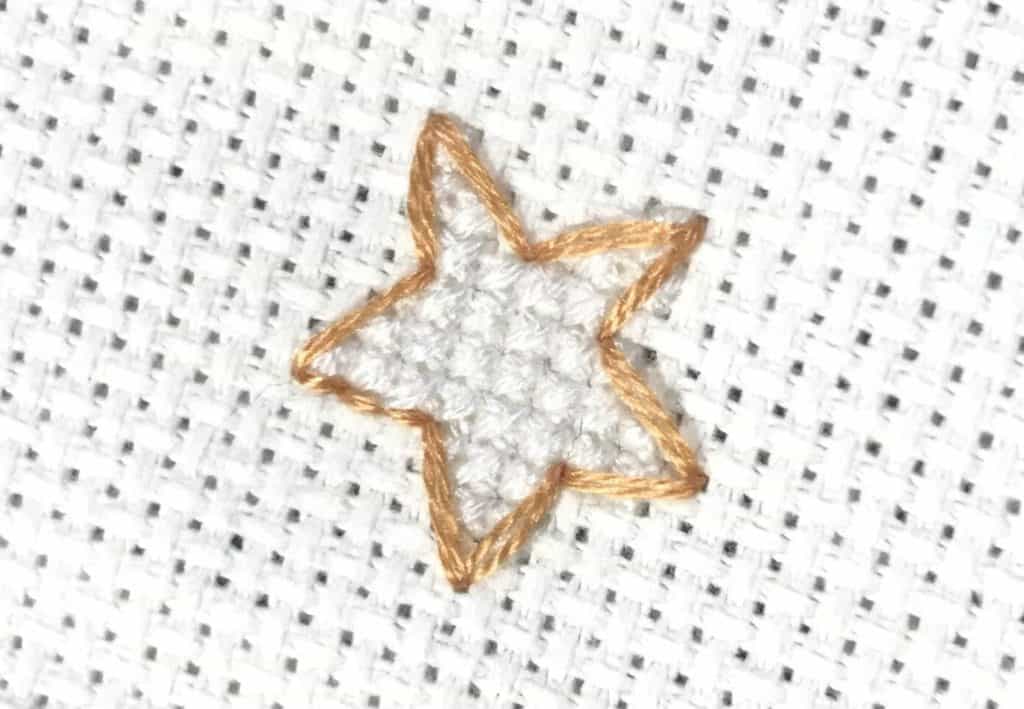
Now that you know how to back stitch and long stitch, you can create cross stitch projects with outlines and take advantage of the delicate, little fonts.
Get to stitching!
Want to Practice?
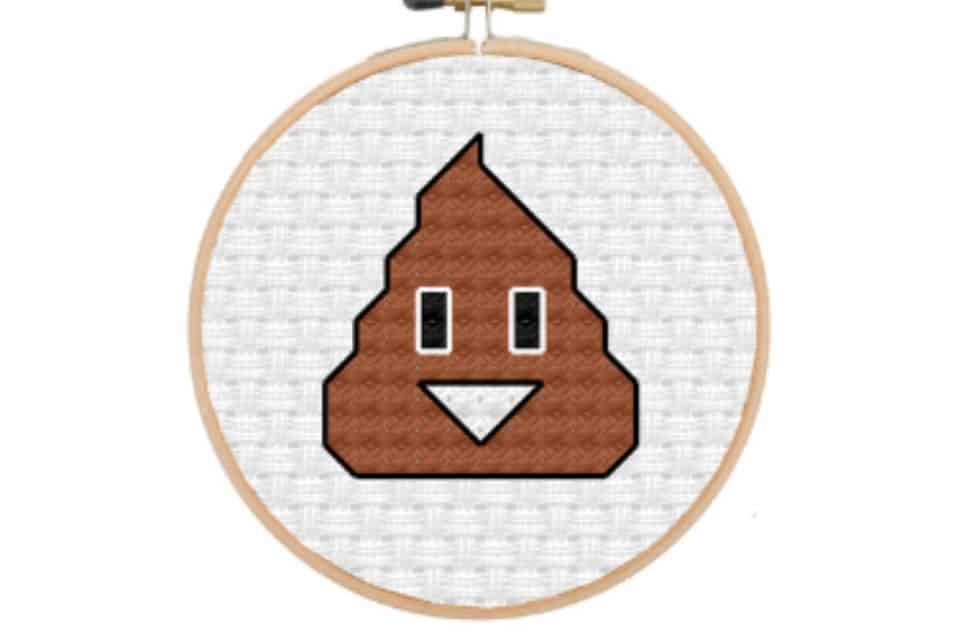
Try this Poop Emoji Pattern! It’s free when you sign up to become a Notorious VIP.
