Crazy Easy Embroidery Hoop Finish Ideas post featured image

This page contains affiliate links. Visit here or here to learn more.

Crazy Easy Embroidery Hoop Finish Ideas (with Videos)

Ever have a crap-ton of finishes, but you don’t want to take time away from stitching to frame them? 

Maybe you’ve got literally an hour between the last cross stitch and when you have to gift it.

Here you’ll find quick and simple embroidery hoop finishes for your cross stitch projects.

If you don’t want to use a hoop, try this traditional picture frame tutorial.

The links below will quickly take you to that specific tutorial on this page. I’ll add more as I create them so check back often!

Felt-Hoop-Finish-Pin

Materials Needed

Tools Needed

Watch this video for a detailed example, or follow the instructions below.

Play Video

Instructions

  1. Place your finished cross stitch in the embroidery hoop.

  2. Use the Gather Fabric tutorial to prep the hoop.

  3. Place the hoop on top of the felt and use a pen or marker to trace the hoop. 

  4. Cut the felt along the trace line.

  5. Use the Blanket Stitch (see video above) to attach the felt backing. 

Back to Top

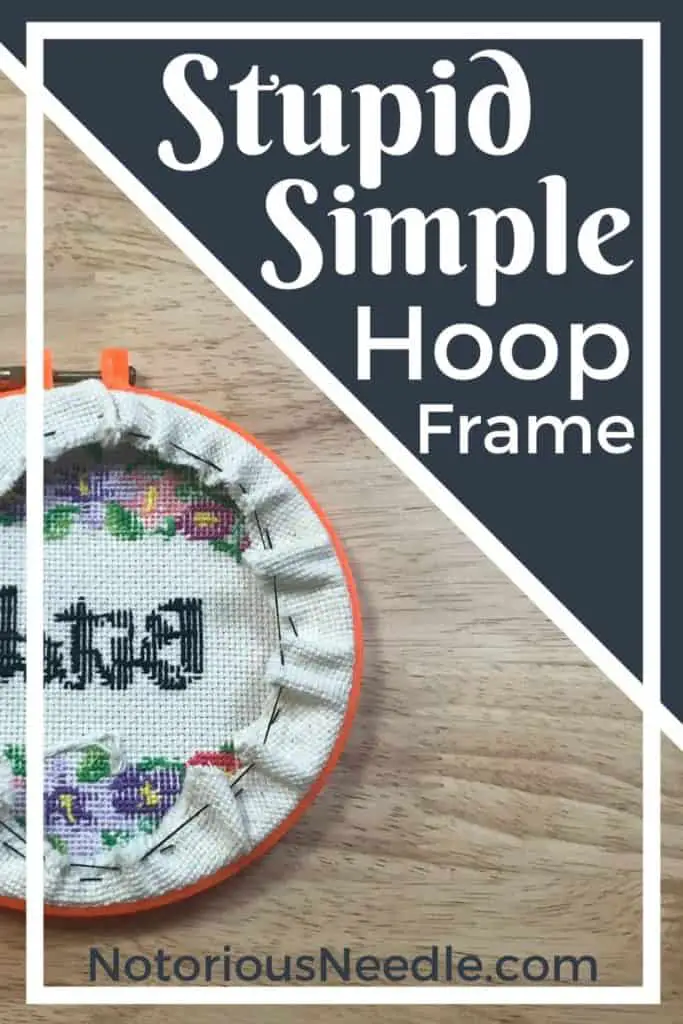
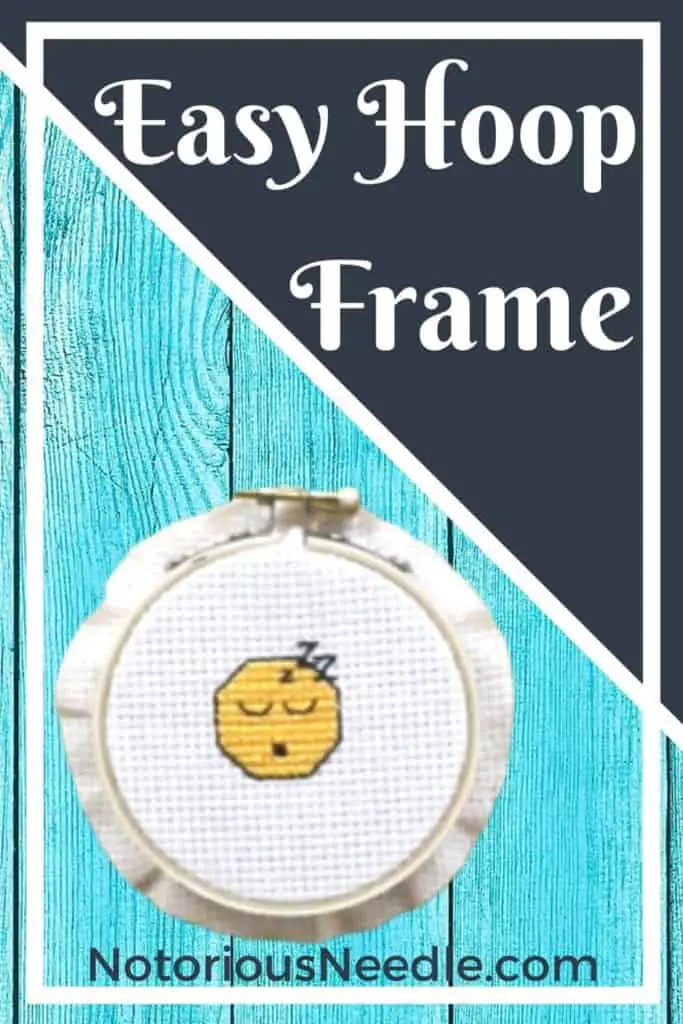
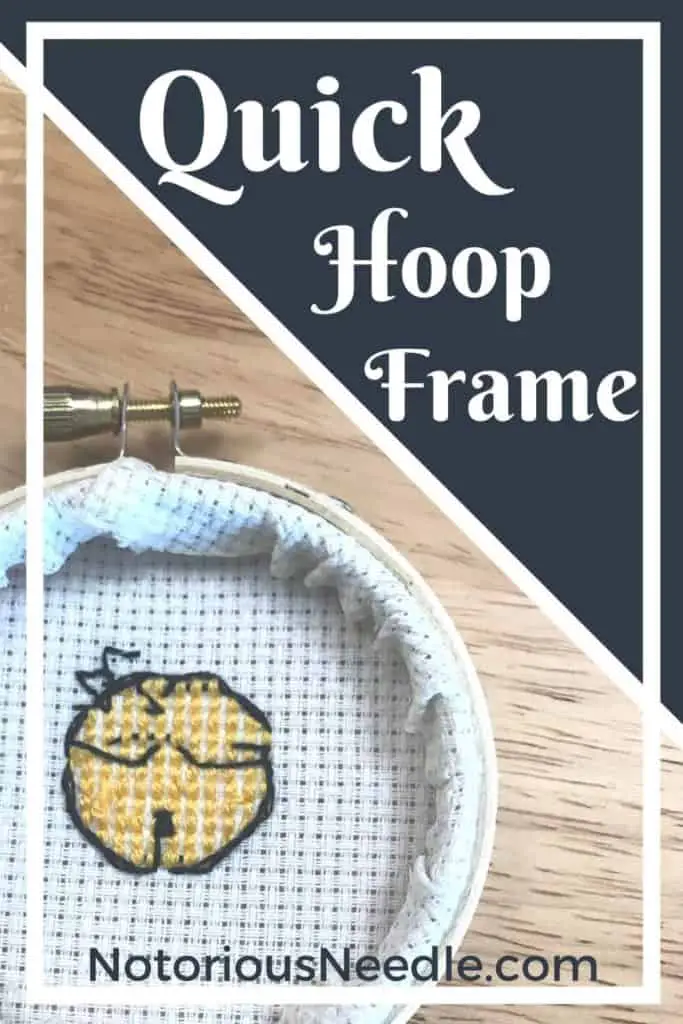
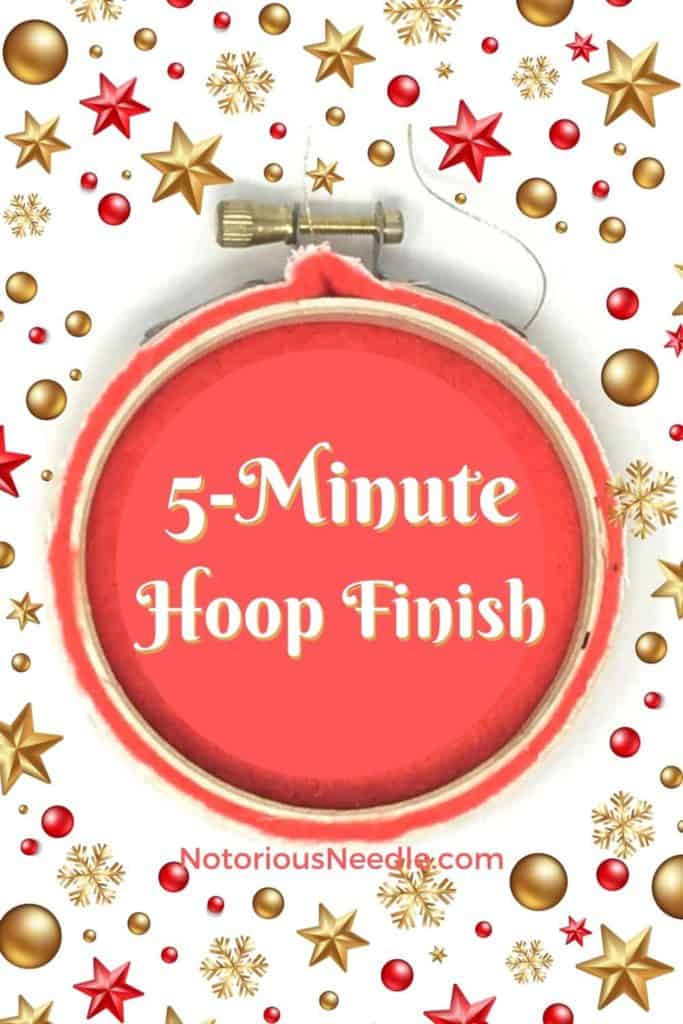
Gather Fabric Hoop Finish

Materials Needed

Tools Needed

Watch this video for a detailed example, or follow the instructions below.

Play Video

Instructions

  1. Place your finished cross stitch in the embroidery hoop.

  2. Cut off excess fabric.

  3. Run needle and thread around edge of remaining fabric in a sort of loose running stitch. 

  4. Pull thread tight – fabric automatically gathers – and tie off.

Get this snarky Bitch pattern in a purple, floral wreath on here. Fits perfectly inside a 5″ hoop.

Back to Top

Cut & Glue Hoop Finish

Cut & Glue Hoop Finish Pinterest size section header photo

Materials Needed

Tools Needed

Watch this video for a detailed example, or follow the instructions below.

Play Video

Instructions

  1. Place your finished cross stitch in the embroidery hoop.

  2. Turn over the hoop to the back.

  3. Draw a rough line on the cloth about ½” to 1” from the hoop. 

  4. Use a generous amount of the fabric glue all around the hoop on the line you drew. Doing this over a paper plate helps with easy clean-up!

  5. Rub the fabric glue into the cloth so that it is soaked through

  6. Leave to dry on the paper plate according to the fabric glue instructions. When in doubt, leave it overnight.

  7. Cut the fabric along the line you drew

Get this Sleep Emoji pattern free here. Fits perfectly inside a 3″ hoop.

Back to Top

Tuck in Edges Hoop Finish

Tuck In Hoop Finish Pinterest size section header photo

Materials Needed

Tools Needed

Watch this video for a detailed example, or follow the instructions below.

Play Video

Instructions

  1. Plug in the hot glue gun to warm up the glue. Place it on the paper plate to catch any drippings.

  2. Place the finished cross stitch inside the embroidery hoop

  3. Cut the extra cloth around the embroidery hoop leaving about ½” to ¾”

  4. Lay down a bit of hot glue on the inside your bamboo embroidery hoop

  5. Use the nail file to avoid touching the hot glue. Press the cloth into the inside the hoop, and onto the hot glue

  6. Repeat all around the hoop until you are satisfied the edges are tucked in enough

"With plastic hoops, I scratch the inside, this helps the glue stick it better."

Fabric Backing Hoop Finish

Fabric Backing Hoop Finish Pinterest size section header photo

Materials Needed

Tools Needed

Watch this video for a detailed example, or follow the instructions below.

Play Video

Instructions

  1. Cut the backing fabric to a size larger than the embroidery hoop

  2. Loosen the embroidery hoop as far as it will go, while the sides of the opening remain connected

  3. Place both the backing fabric and the finished cross stitch inside the hoop, making sure that the fabric is covering the back side of the cross stitch.

  4. Tighten the embroidery hoop

  5. Trim the extra fabric and cloth from the back of the hoop

  6. (Optional) Use a pen or marker to write a message or the date on the back.

Back to Top

Which did you use? Tag me on FacebookInstagramTwitter or Pinterest @NotoriousNeedle. I’d love, love, LOVE to see pics of your finished pieces! 

Learn more about embroidery hoops with this complete guide.

You Might Also Like...

Get Access to My Free VIP Patterns!

Become a Notorious VIP (free) to get exclusive access to free patterns, and never miss a tutorial or new pattern.

Plus, get 20% off!

New to Cross Stitch?

Check out my helpful cross stitch tutorials series, the Beginners Guide to Cross Stitch.

AMAZON AFFILIATE DISCLOSURE

NotoriousNeedle.com also a participant in the Amazon Services LLC Associates Program, an affiliate advertising program designed to provide a means for sites to earn advertising fees by advertising and linking to Amazon.com. As an Amazon Associate I earn from qualifying purchases. Visit the here or here to learn more. Thank you for the support!

You’re welcome and encouraged to link to NotoriousNeedle.com or use a single image with a brief description to link back to any post. Republishing posts in their entirety is prohibited. Feel free to pin on Pinterest!

By continuing to use this site, you give your consent to our use of cookies for analytics, personalization and ads.