If your cross stitch project looks too wrinkled to frame it or finish in a hoop, you can iron it.
But first, did you wash it? Pop over here for a quick guide to washing completed cross stitch projects.
If you’re not in the mood for reading, skip all the words and check out this quick, 4-minute demo.
What You Need to Iron Cross Stitch
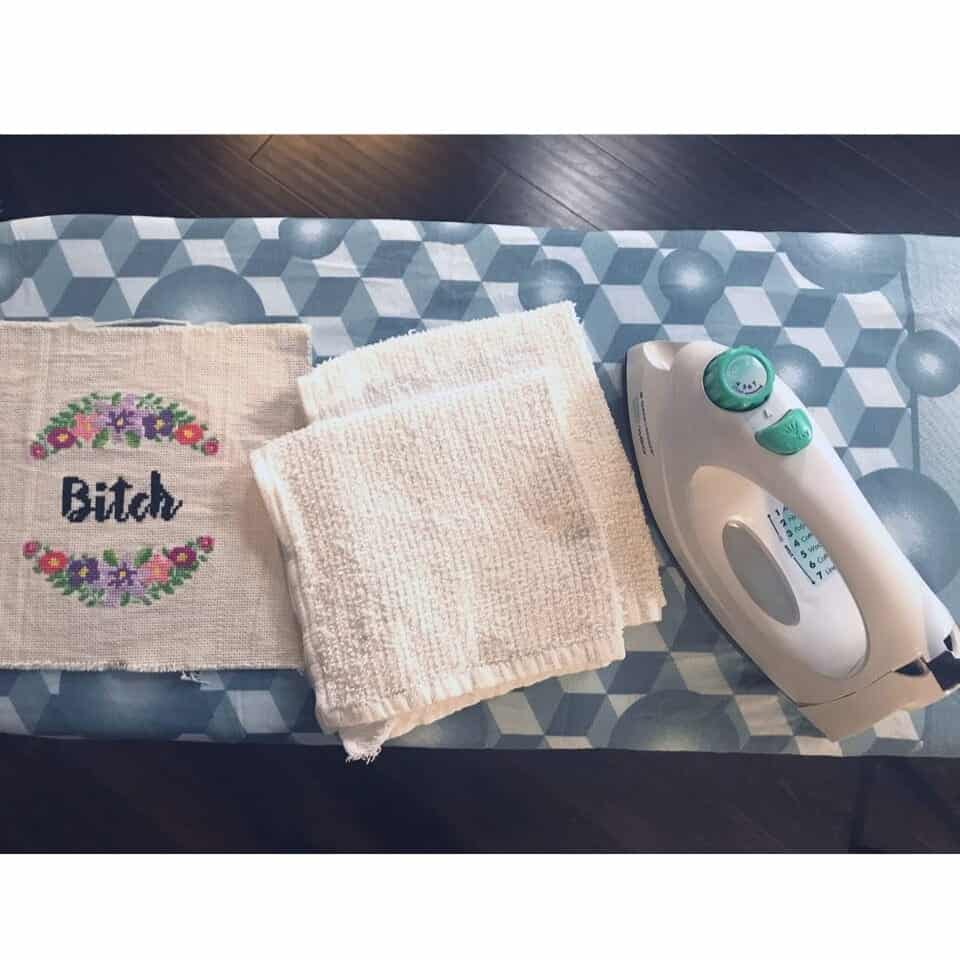
Here’s what you need to iron your finished cross stitch project:
- Iron with Steam Setting
- Ironing Board
- Two thin, light towels (sheets or pillowcases will work)
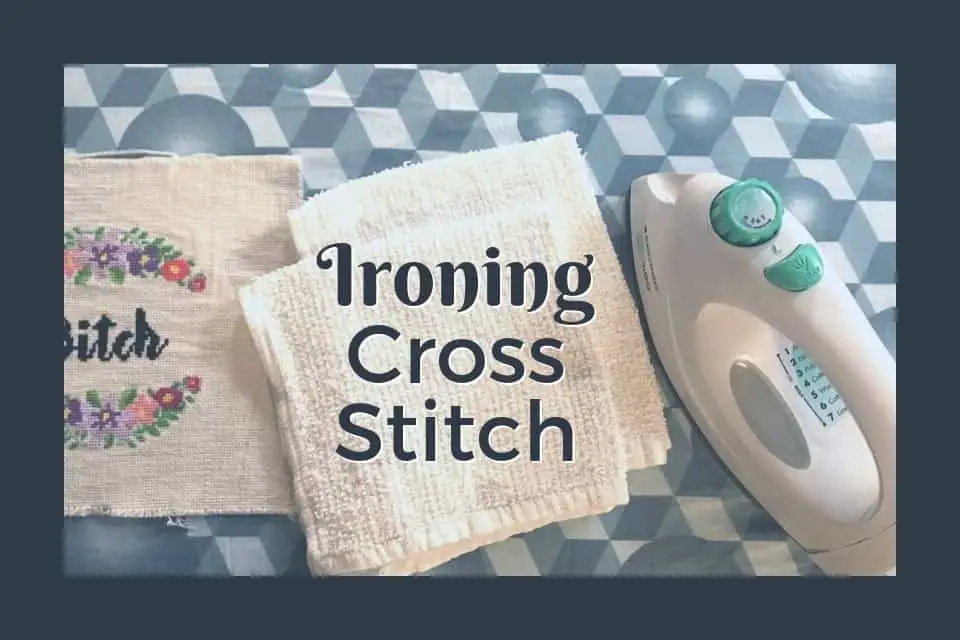
- Your clean, dry cross stitch
How to Iron Completed Cross Stitch
First, set your iron to a linen or cotton setting. It should be very hot with steam because we will be ironing through layers.
Then, place a towel or cloth on the ironing board and put the finished, dry cross stitch project front-up on the ironing board.

Next, place a thin towel or light cloth on top of the finished, dry cross stitch project. This will prevent the iron from squishing the stitches while we iron on the front.
Now, you iron as you normally would. Try not to press down too much to avoid squishing the stitches.
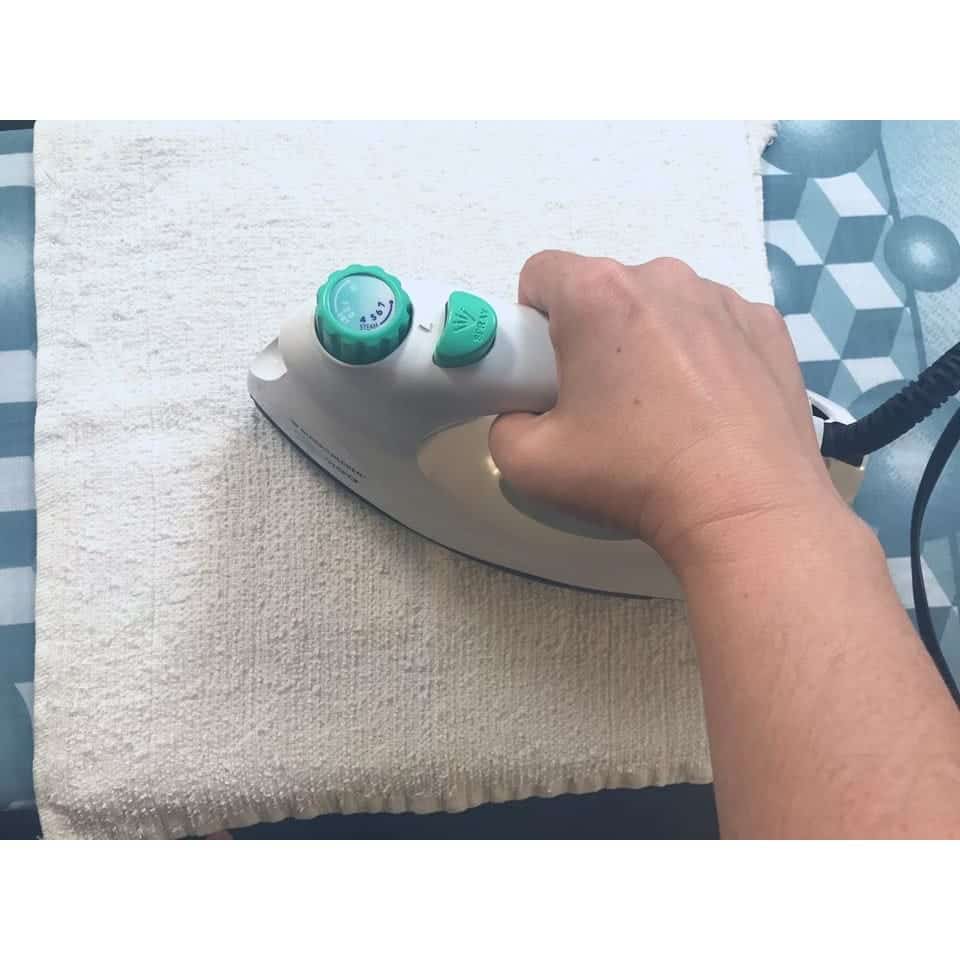
If this isn’t enough to get the wrinkles out of your finished cross stitch project, you can iron from the back.
Remove the towel or cloth from the top of the cross stitch, and flip it over so that the back is facing up.
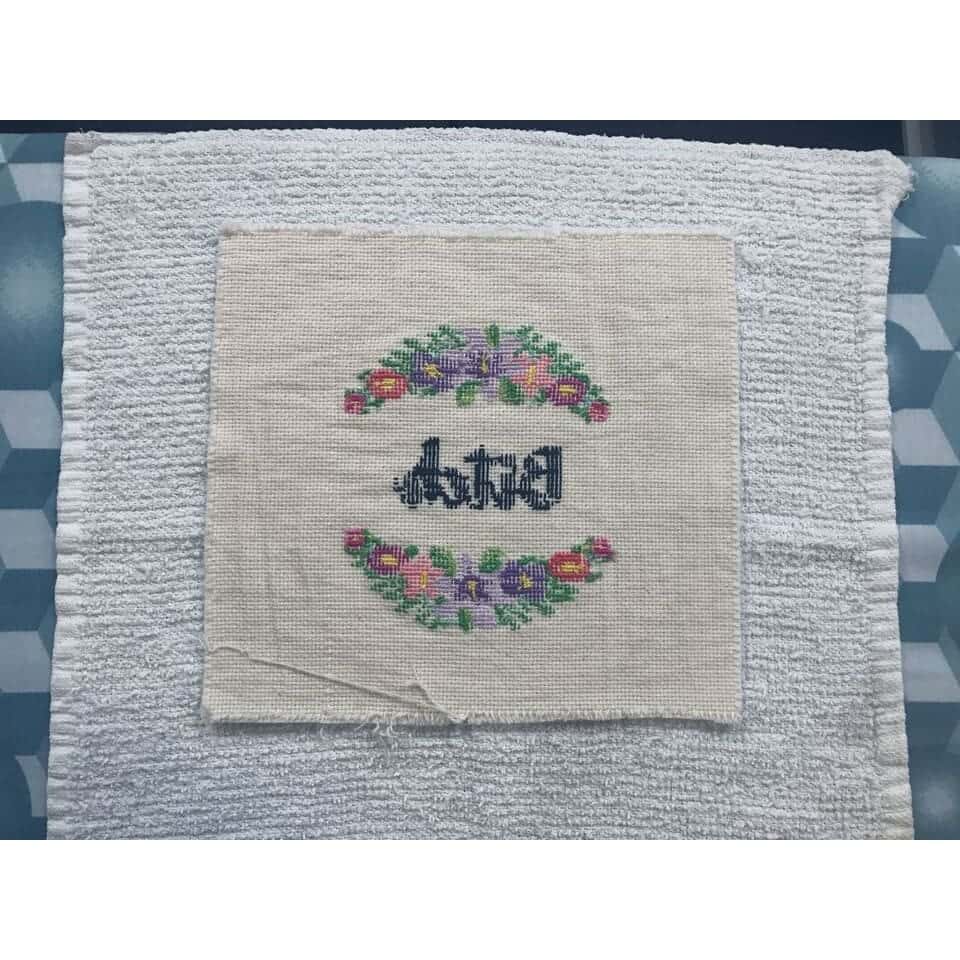
Then, iron directly onto the embroidered project. The towel underneath the cross stitch will prevent the stitches from getting squished.
Your Cross Stitch is Ready for Framing!
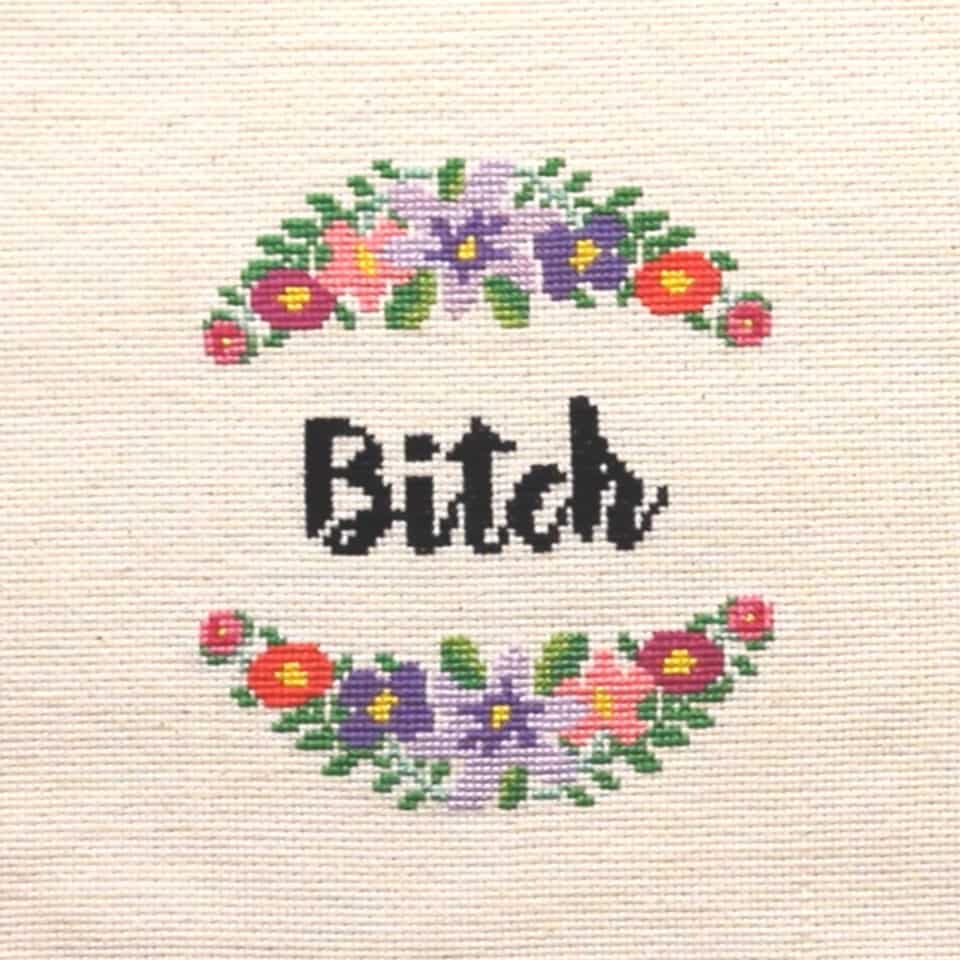
Did you like the sample pattern? 😈 “Bitch” all in pretty purple flowers. You can buy it here.
Once it’s all ironed, check out these crazy easy hoop finish ideas to frame your completed cross stitch super quick. Or, try a traditional frame.
