You already know how to cross stitch and you’re crushing it! (If not, check out these quick tutorials) Here are 5 more stitches you need to know to level-up your cross stitch skills.
Check out this video demonstration for 1/4 Stitch, 1/2 Stitch and 3/4 Stitch.
In the figures below, I am using 11 count aida cloth (meaning 11 stitches per inch) and only 2 strands of DMC floss. Normally, you would use more floss to cover the white cloth. I chose to use less so that you can more clearly see the lines of the stitches.
Level-Up Stitch 1: Half Stitch
A half stitch is just the first half of a cross stitch. If you’ve done needlepoint, this is the same stitch, except it’s done on soft cloth instead of plastic canvas. For cross stitch, use the half stitch to add texture and interest to a design. Creating this stitch is also reviewed in How to Cross Stitch for Beginners.
Level-Up Stitch 2: Quarter Stitch
The quarter stitch covers only a quarter of the usual fabric square. You will find it in advanced cross stitch patterns where it is used for fine detail. Quarter stitches create pictures with rounded edges and add accents to small designs.
Quarter stitches are most commonly done when there is one square split into two halves by a back stitch outline. Instead of two 3/4 stitches and a back stitch, many stitchers choose to make two quarter stitches and a back stitch. Otherwise, there’s too much floss and it puffs out.
First, put the needle through your aida cloth from the back through the hole in the quarter of the cross stitch square you want to cover. In the pictures above, I am covering the top-right quarter.
When using linen, you can only do the quarter stitch if your regular cross stitches go “over 2”, meaning over 2 (or 4) fibers in the fabric. Use an embroidery needle, which has a sharper point, and not the usual tapestry needle, if you are working with linen or fabric other than aida cloth. A sharper needle point will get through the tighter fibers of your cloth.
Level-Up Stitch 3: Three-Quarter Stitch
The three-quarter stitch covers – you guessed it! – three-quarters of what a regular cross stitch covers. Also use 3/4 stitch for smaller details and to create pictures with rounded edges. Three-quarter stitches look great at the edge of a picture or figure in your project, when the other half of the fabric square would be blank.
To make a three-quarter stitch, start with a quarter stitch. Then, finish the three-quarter stitch like you would finish a cross stitch.
You can see the complete three-quarter stitch in the picture above.
Level-Up Stitch 4: Back Stitch
The back stitch is an outline stitch used in cross stitch projects to add definition and details. I’ll never understand why some stitchers don’t like to back stitch. It’s my favorite part of the pattern! It means you’re nearly done. And it really does add that necessary finishing touch to a lot of projects.
This quick video walks you through back stitch.
To do a back stitch, start with the needle pushing through from the back to the front of the fabric. Then, push the needle down the front of the fabric along the outside of a cross stitch square, creating a border around or in between the stitches.
Next, skip ahead one square and push the needle up again from the back. See the example in the Back Stitch Figure 2 picture below.
Then, go “back” one square to put the needle through from the front, as in the picture above Back Stitch Figure 3.
Finally, follow the pattern, completing the border or outline in back stitches for that color floss.
Figures 4 and 5 below continue the back stitch row.
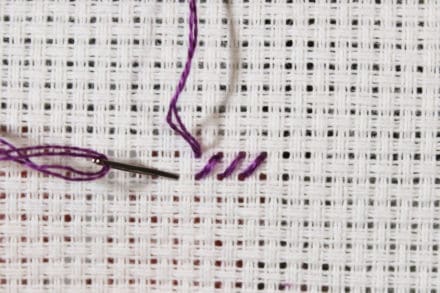
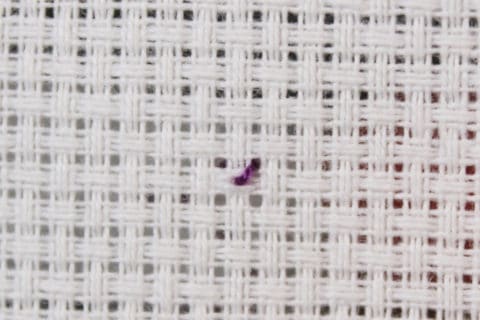
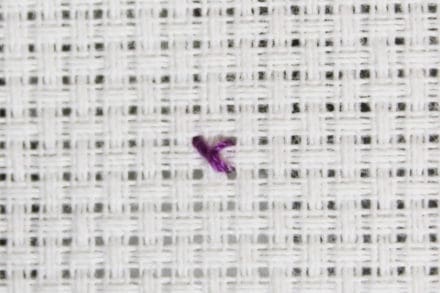
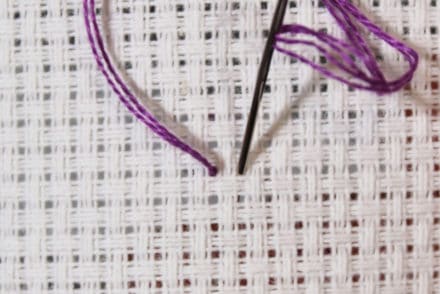
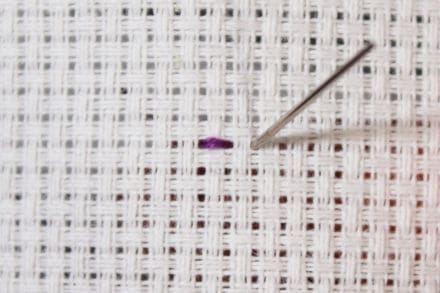
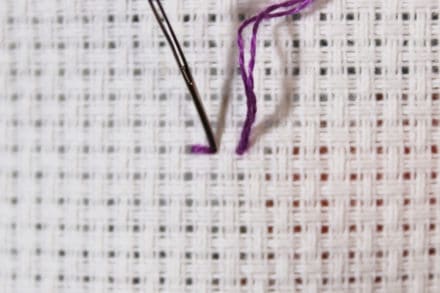
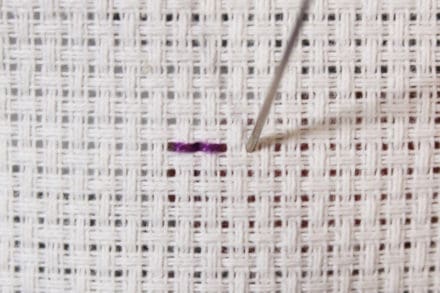
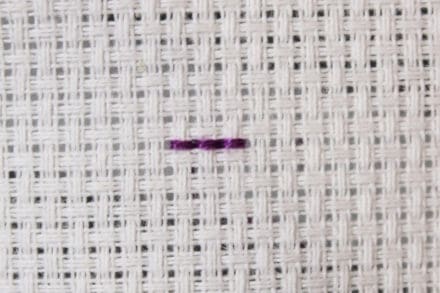
Level-Up Stitch 5: Long Stitch
Long stitch is done the same way as back stitch. The difference is that Long Stitch can cover more than one fabric square in a single stitch.
Achievements Unlocked:
- Quarter Stitch
- Half Stitch
- Three Quarter Stitch
- Back Stitch
- Long Stitch
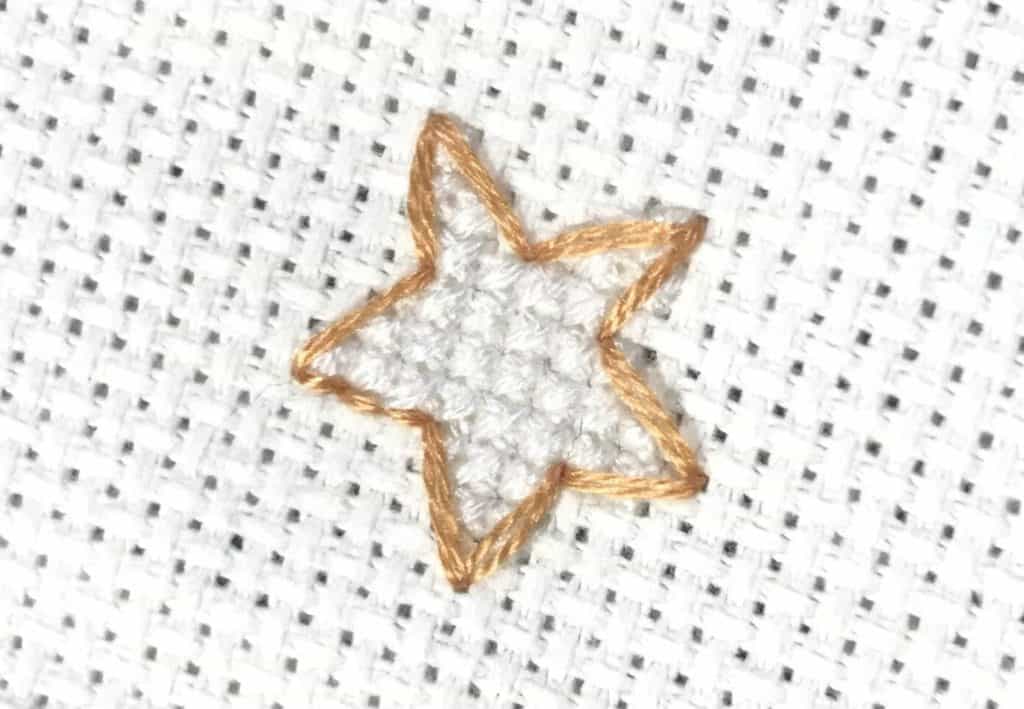
These five extra stitches will compliment your cross stitch skills and allow you to enjoy more complicated patterns. They add details and curves, increasing the versatility and enabling you to create even more intricate and beautiful pictures.
When you’re all done stitching, it’s time to wash and iron your cross stitch.