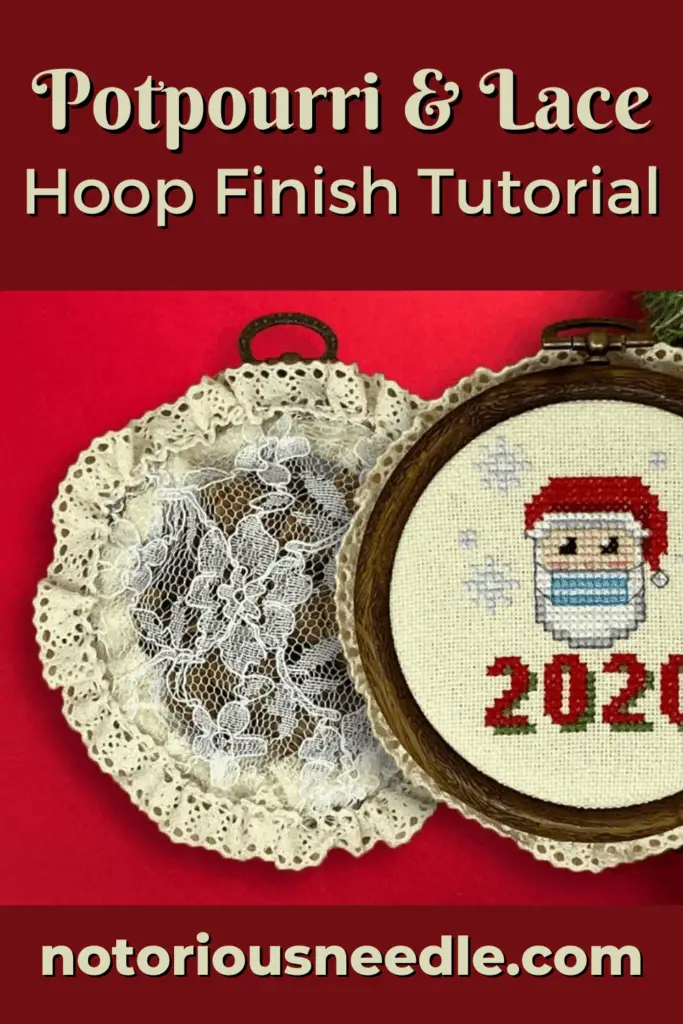
If you’ve got some small Christmas cross stitch projects stitched up and you don’t know how to finish them, I’m going to show you how to transform them into gorgeous, fragrant Christmas tree ornaments or holiday wall art.
Watch a quick video that shows you how to finish an embroidery hoop with potpourri and lace to make a cross stitch Christmas tree ornament.
Materials & Tools
Materials for potpourri and lace cross stitch Christmas tree ornament embroidery hoop finish.
VIEW MY AMAZON SHOPPING LIST OF TOOLS AND MATERIALS NEEDED TO COMPLETE THIS PROJECT
Materials
- Stitched Cross Stitch Pattern – fits in a 4″ embroidery hoop
- Faux Wood Vinyl 4″ Embroidery Hoop – looks great on the tree
- Thin Fabric Backing to prevent the potpourri from getting through the cross stitch fabric
- Potpourri – use the simmering kind that is made up of smaller pieces
- Lace Fabric – the lace holes should be small enough to prevent the potpourri from falling out
- Lace Ribbon – you can use regular ribbon, but lace works better for ruching
- DMC Ecru – choose an embroidery floss color that matches your lace, and another color to match your ribbon if they’re different colors
Tools
- Tapestry Needles
- Fabric Scissors with Measuring Tape
- Mini Hot Glue Gun with Glue Sticks
- Nail File (Optional) – used to press the lace and ribbon into the hot glue and prevent burning your fingers – OUCH!
Cross Stitch Ornament Decoration Ideas
- Holiday words or names like “Peace” and “Hope”
- Snarky phrases like “Where my ho’s at?”
- Cute images such as characters and animals
- Monograms
- Geometric deisgns
- Team mascots and icons
- Stencils
- Check out my Store for more ideas!
Cross Stitch Ornament Hanging Ideas
- Use a decorative hook
- Use a decorative hanger
- Tie a ribbon (you can use leftover ribbon from the project)
- Tie a loop of metallic floss
Potpourri and Lace Cross Stitch Ornament Hoop Finish Instructions
Step 1: Cut a Piece of the Fabric Backing
First, cut a piece of the thin backing fabric that about matches the size of your project fabric.
Step 2: Decide the Front and Back of Hoop
Click here for the Complete Guide to Embroidery Hoops for Cross Stitch.
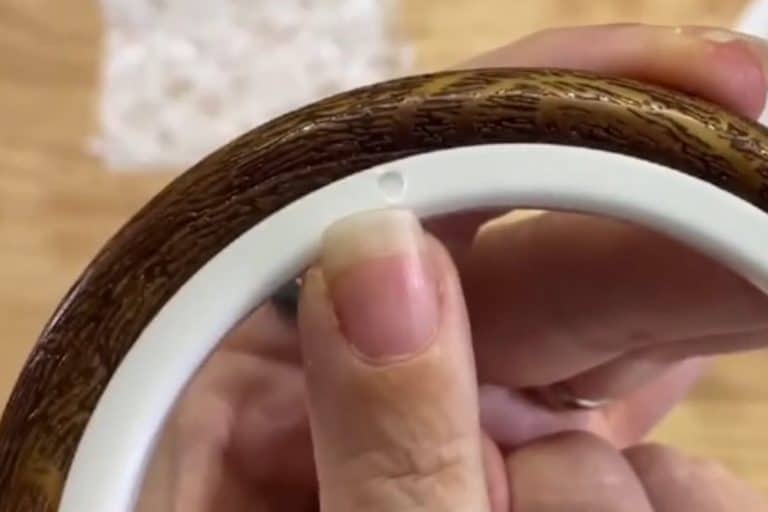
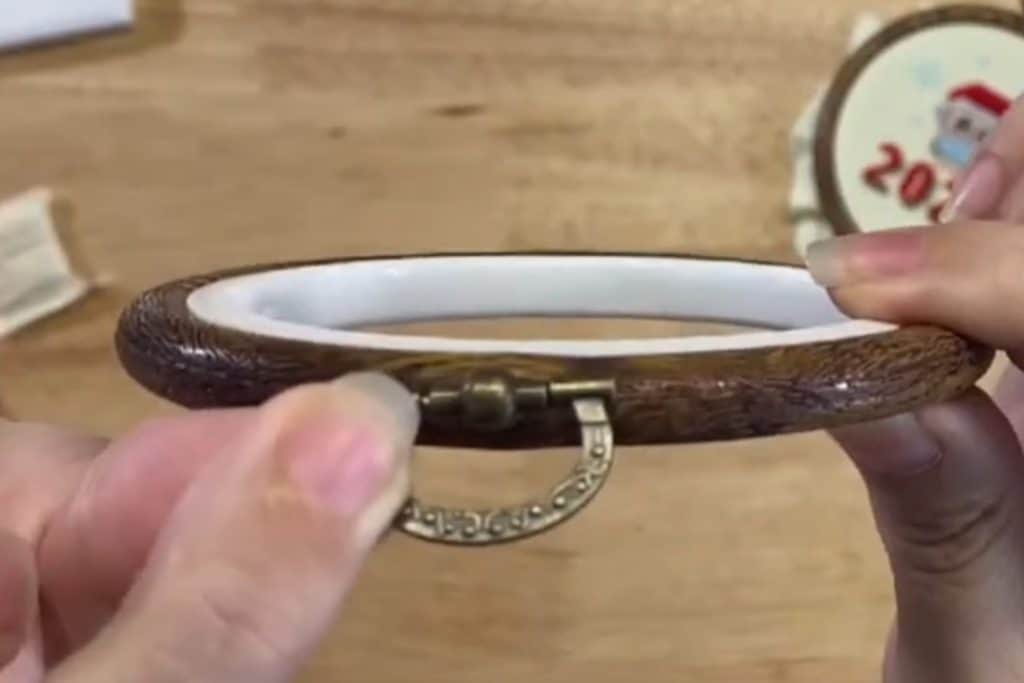
Open the hoop and decide which will be the front and which will be the back of the hoop.
For the inner piece, there’s a little circle where the plastic was poured into the mold. This might make your fabric stick out a little, so you’ll want any little circles to be facing the back.
And for the outer piece of the hoop, there isn’t really a front or back on these faux wood vinyl hoops. Sometimes the piece at the top is screwed in so it’s not quite centered, and you might have a preference whether you like it closer to the front or closer to the back. But ultimately, this has very little impact on the finished look of this project.
Step 3: Place Fabric and Project in Hoop
Place both the finished cross stitch and the backing fabric in the hoop at the same time. The vinyl hoops don’t have a screw to tighten or loosen them like conventional embroidery hoops. They’re already tight. This is why it’s important to use a very thin piece of fabric for the backing.
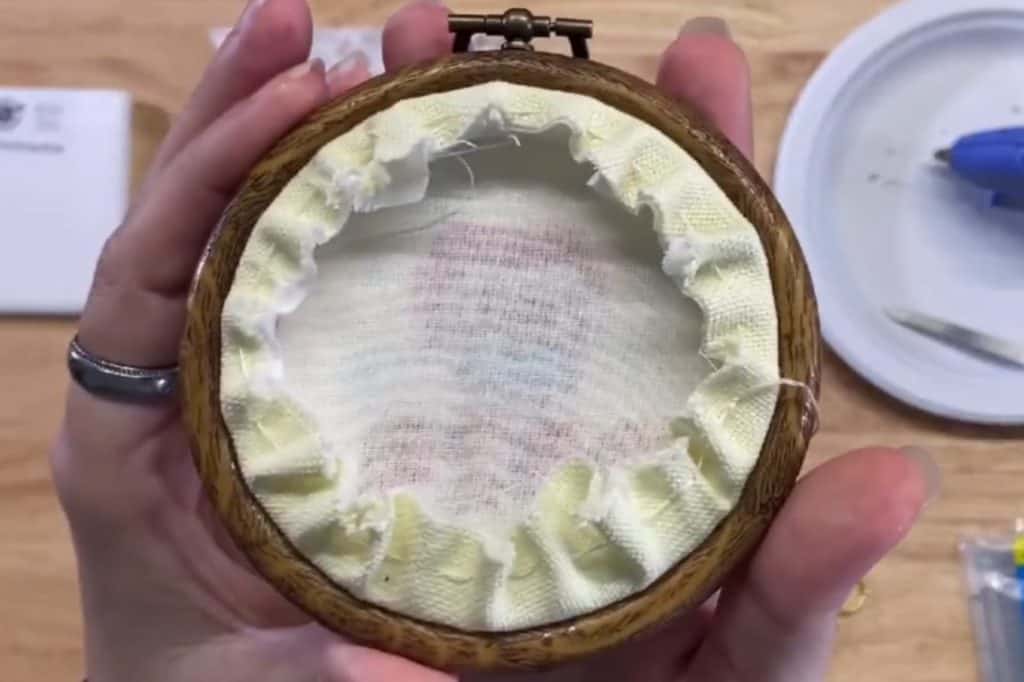
Step 4: Trim Fabric
Next, trim the extra fabric from the back of the hoop, leaving about one inch or less all around.
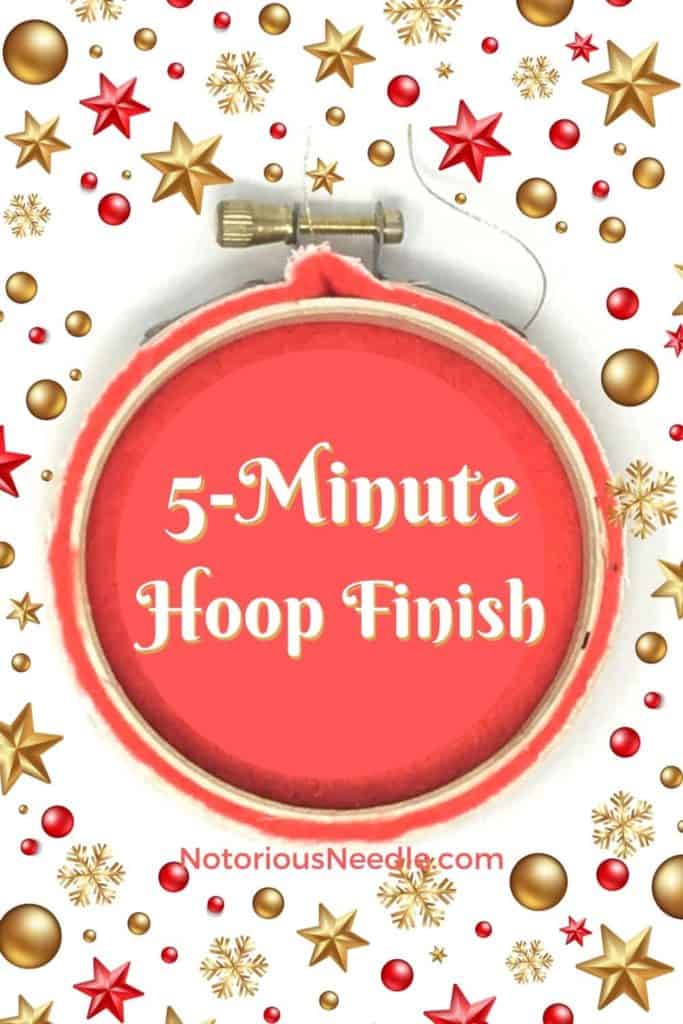
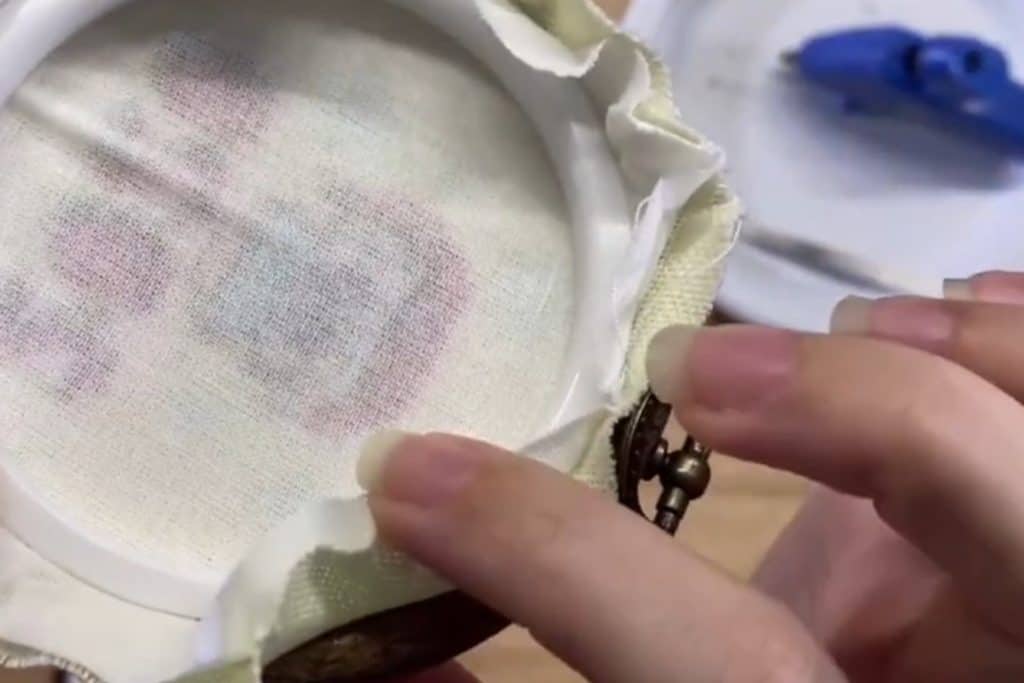
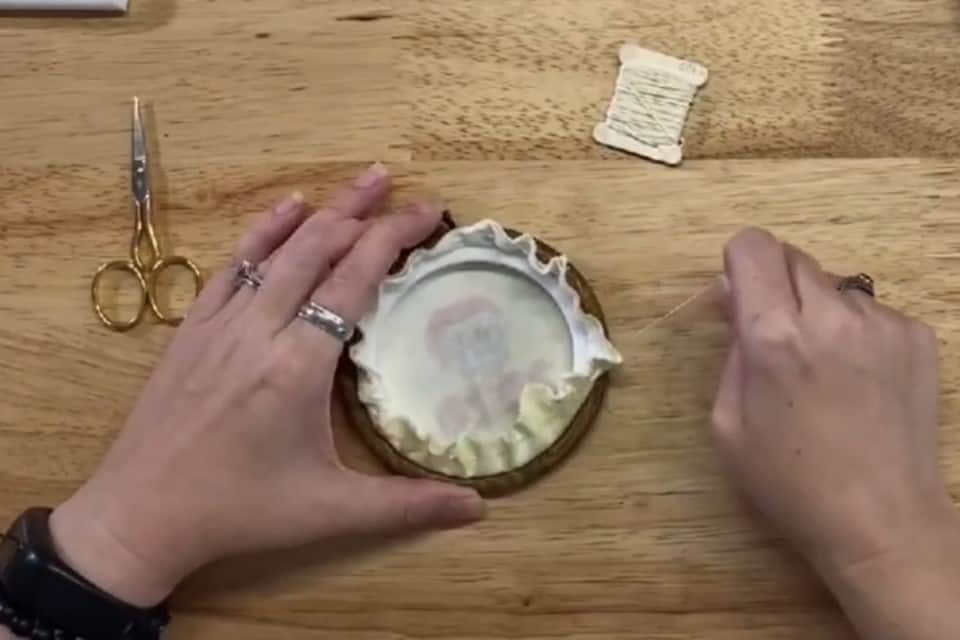
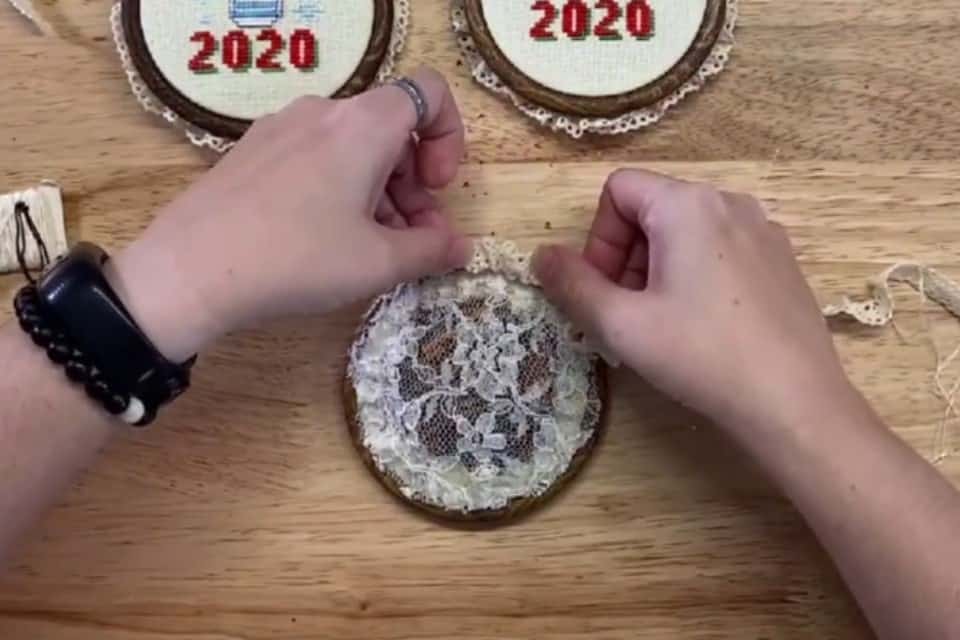
Step 5: Gather Fabric in Back of Hoop
Thread your needle with the floss for the thread that matches the color of your project fabric or the lace backing. Use at least two strands for added strength. You can use a loop start here, too, or tie a knot at the end of the thread. Weave the needle in a sort of running stitch, in and out of the fabric along the back of the hoop. When you come all the way around to where you started, make sure to overlap a little so you don’t miss any fabric.
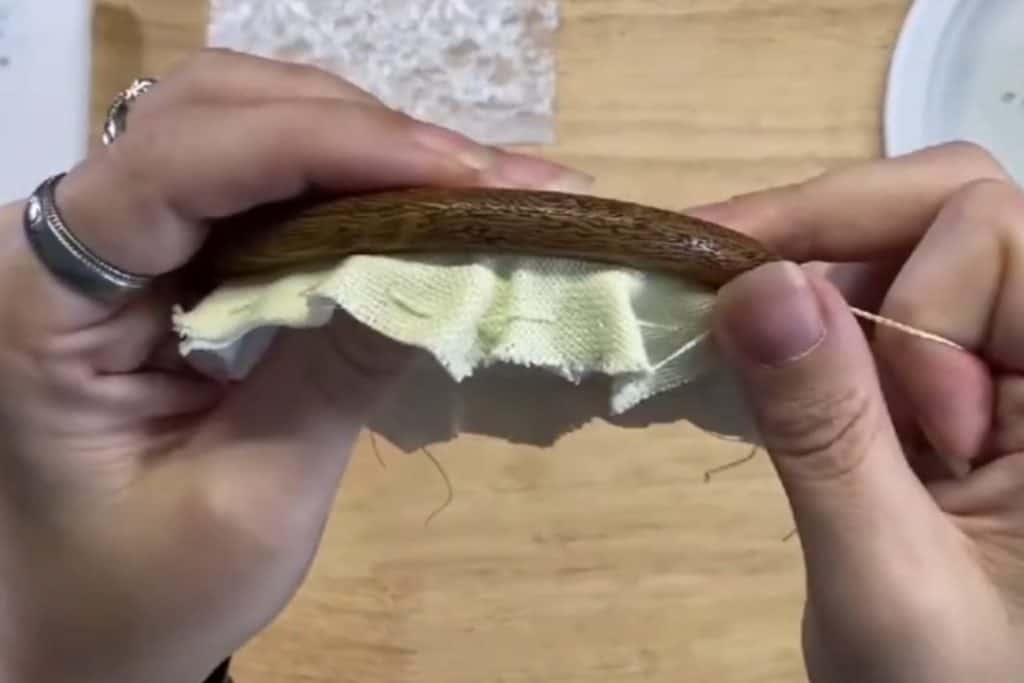
Next, pull the thread tight. The fabric at the back will naturally start to gather towards the center of the hoop (picture below). This is why you want to use two threads. You want to have enough power to pull on thread so it doesn’t snap. Tie off the thread.
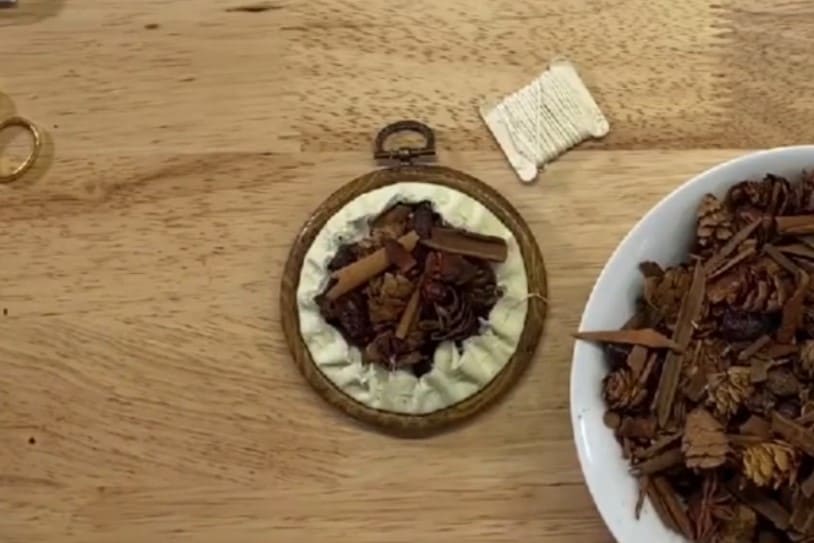
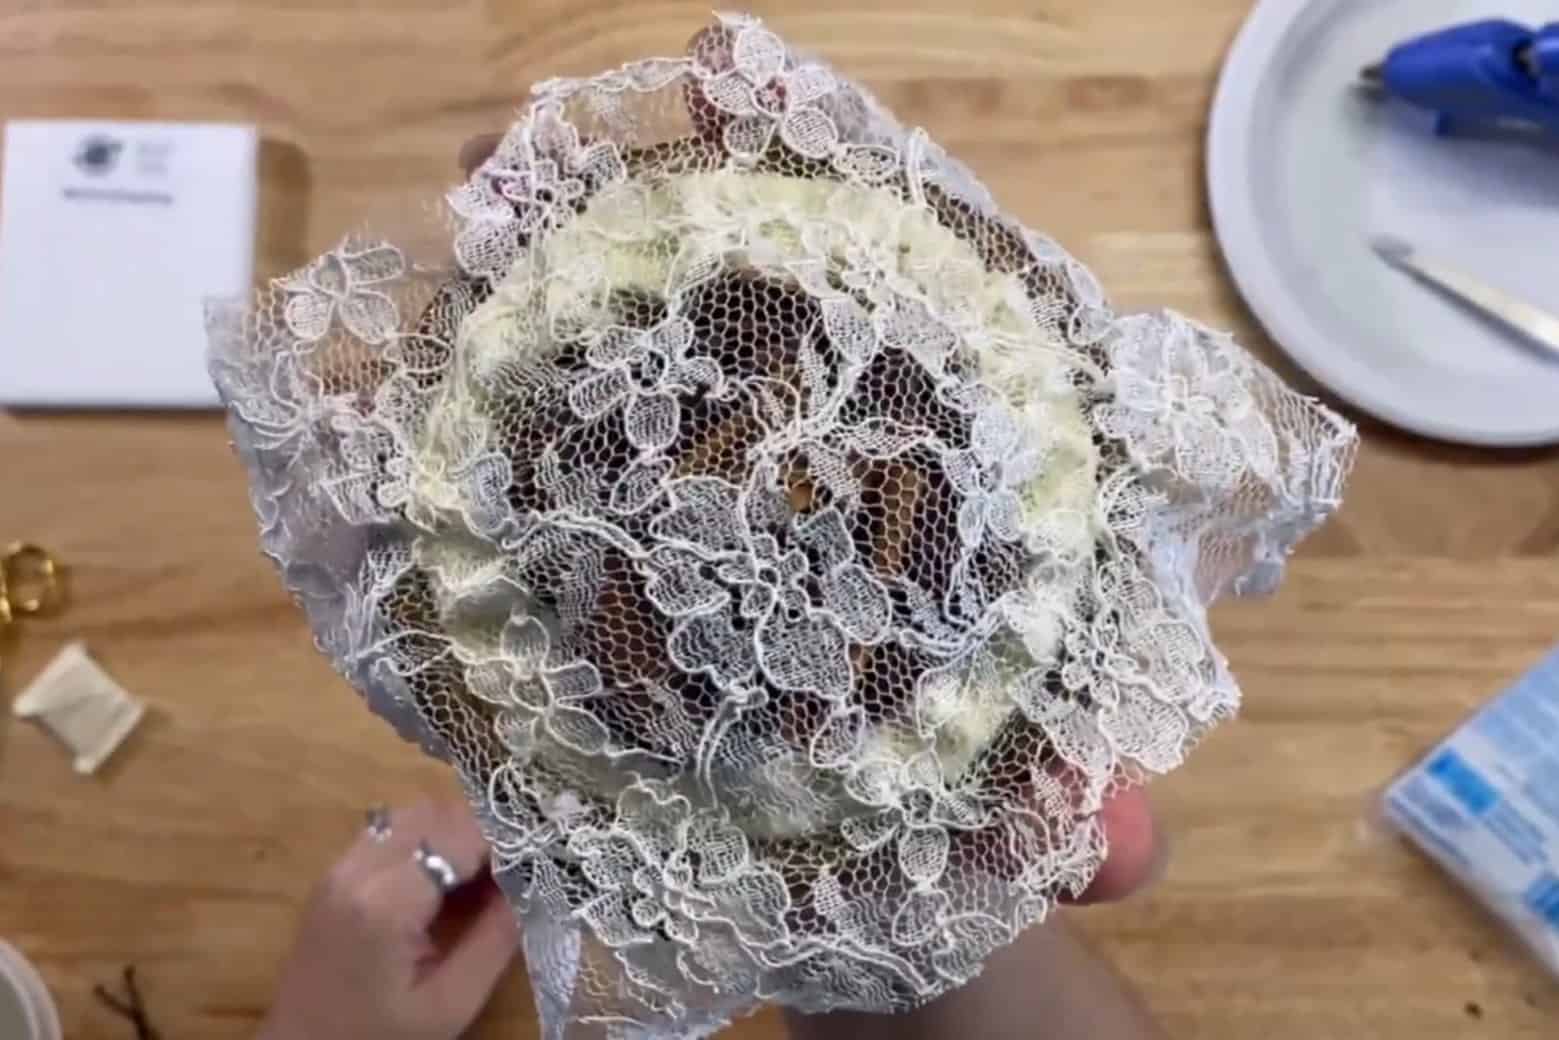
Step 6: Add Potpourri to the Back of the Hoop
Take some of the potpourri and place it into the back of the project. You’ll notice that the hoop forms a sort of small bowl shape. Make sure the pieces lay somewhat flat and don’t stick out too far. It’s okay if they stick out a little bit because we’re going to cover it with the lace.
Step 7: Attach the Lace with Glue Gun
Take your glue gun and start to glue the lace to the fabric that’s gathered in the back. You don’t want to glue it directly onto the hoop. We’ll need that room for the ribbon later. Use the nail file – or at least not your finger – to press the lace down into the glue. It helps the lace stay in place better. You’ll continue gluing all the way around the hoop.
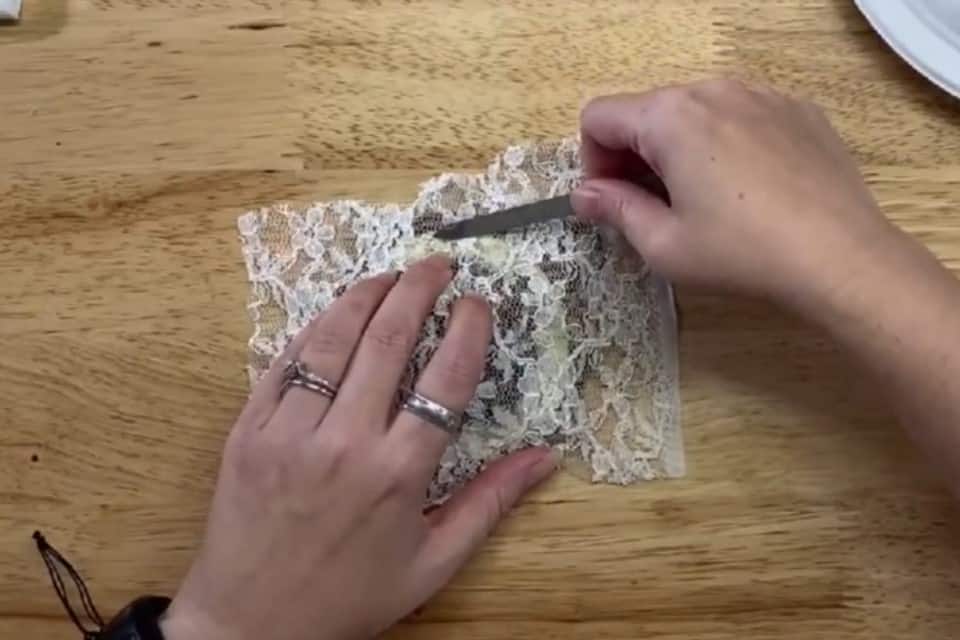
And when you’re done let the glue cool off for a few minutes before you trim the lace very close to the edge of the glue. But make sure you don’t pull the lace off.
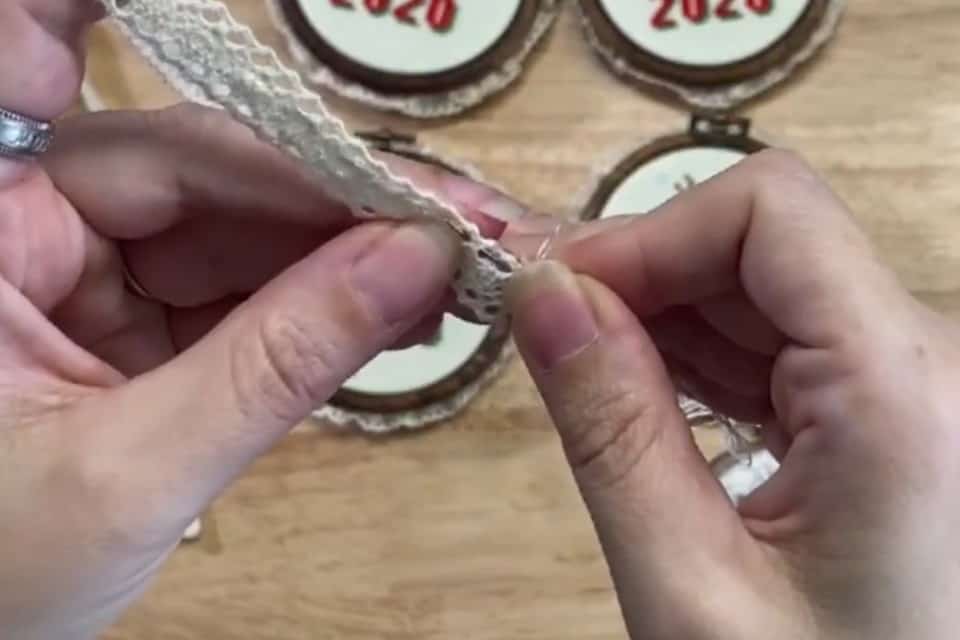
Step 8: Ruching the Lace Ribbon
Measure a strip of ribbon that’s at least five times the circumference of your hoop. I used a four inch hoop and I want a piece of ribbon at least 20 inches long.
Then begin ruching the ribbon. Thread the needle with the floss that matches the color of the ribbon and tie a knot at the end of the thread; or you could use a loop start here as well.
Push the needle through one end of the ribbon very close to the edge. Again, you’re going to use a sort of running stitch to continue weaving the needle up and down, in and out at the very edge of the ribbon, gathering little folds as you go. This is very similar to how you gathered the fabric at the back of the hoop. Now, if you chose lace ribbon, that makes this super easy because the holes are already there and you can make sure that every time you put the needle through, it’s at the same distance, so you get an even look for the ruching.
Step 9: Glue Lace Ribbon to Back of Hoop
When you’ve gathered the ribbon to your liking, start to glue the edge of the ribbon over the edge of the lace backing. Here’s where you want a little bit of the ribbon to stick out from behind the hoop. Try not to start in an obvious spot like at the top of the hoop or the very bottom. If you choose a random place to start it’s less likely that the human eye will see the edge of the ribbon.
Continue gluing the ribbon all the way around the edge of the hoop. Don’t worry if you need to add more ribbon, the ruching hides any cuts and nobody will notice that you needed to add an extra piece. I needed to add lace ribbon on several pieces and you can’t tell!
Done. It’s gorgeous!
If you make a holiday ornament, share it in the Facebook Group so we can all see!