Anyone making a counted cross stitch project has gone through this problem. It happens kind of often, so learning how to fix this will come in handy. Is it ruined?! Probably not!
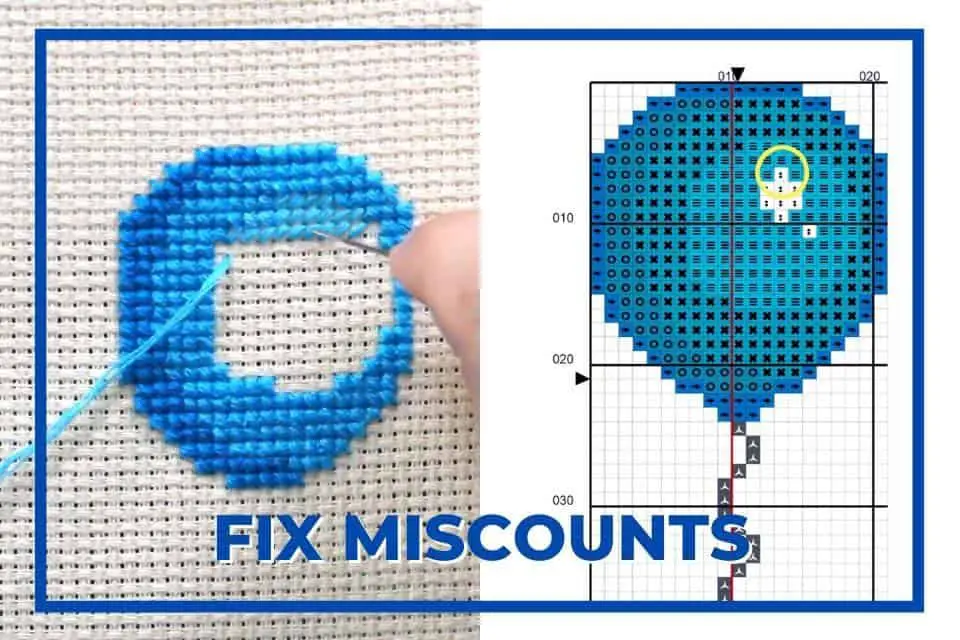
As an example, I’m using the Beautiful Blue Balloon pattern from the Notorious Nook VIP club. Membership is free. Join here and get instant access to this and other free, exclusive patterns.
Watch the video below for more, or keep reading.
Fix It
Undo the last few stitches
If you haven’t gone very far into your project, pulling out the stitches back to where you made the error may be best. In the video, I show you how to do this with a tapestry needle. It’s important to use a needle with a blunt tip because a pointy needle will split the threads, making it more difficult to undo the stitches.
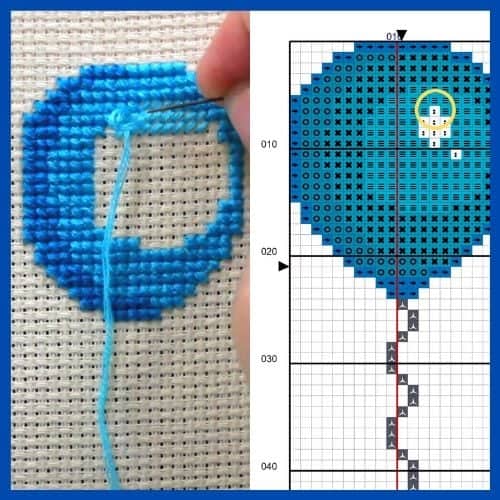
First, gently slip the needle under your last stitch. Then, lift the needle a little to loosen the stitch and remove the needle. Next, slip the needle under the stitch again. Make sure to catch only the threads from that stitch and not any of the threads from nearby stitches. Finally, lift that thread all the way out to undo the stitch.
Pro Tip: When a stitcher complains about “frogging”, it means they have to rip out some stitches. Get it? Rip-it = ribbit ! 🐸
You will notice that after pulling out some of the stitches, the holes in the fabric look stretched out. This is ok. By the time you’re done and you’ve washed and ironed your finished cross stitch, no one will be able to tell where you ripped out stitches.
Stitch the right color OVER the wrong color
If it’s just a stitch or two, it will be barely noticeable. This works best if:
- The threads are similar colors, or
- The WRONG thread is a similar color to the FABRIC
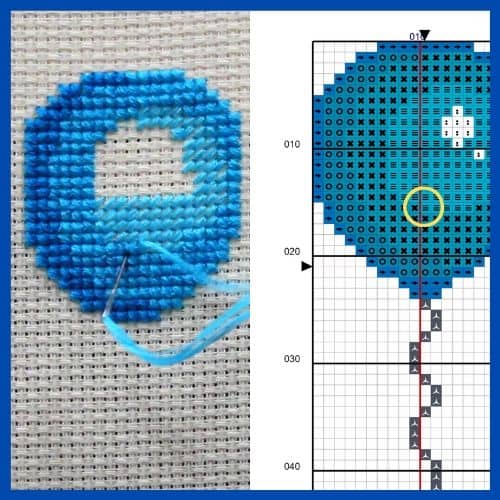
Leave In the Mistake and Work Around It
Sometimes, it’s not worth it to pull out all those stitches and you can leave in the mistake. Maybe the overall pattern doesn’t look much different with this accidental change. And maybe you can make simple adjustments to the surrounding stitches and it will look just fine when finished.
Prevent It
Stamped Cross Stitch
You could avoid the miscounting by using stamped cross stitch kits, where the pattern is pre-printed on the fabric and there is no counting. Here’s a cute Unicorn kit as an example:
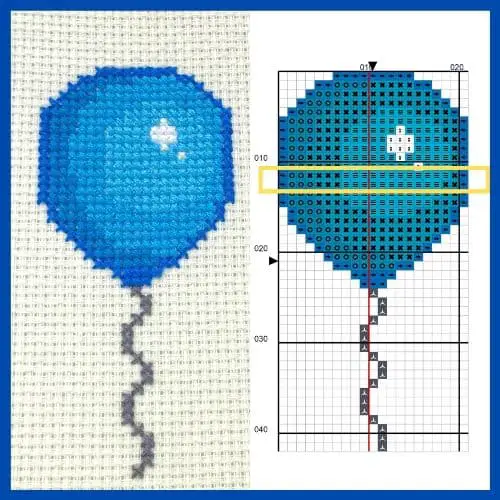
Count Twice, Stitch Once
Count and then count again to make SURE that you’re stitching in the right place. If you’re at a challenging section of the pattern, temporarily turn off the TV or the audiobook, put down the glass of wine, and concentrate more on your stitching. At least until you get through the hard bit, then you can turn the Star Trek marathon back on.
“Having a copy of the pattern I can mark on, and filling in stitch squares on the grid as I stitch helps me in preventing missing stitches.”
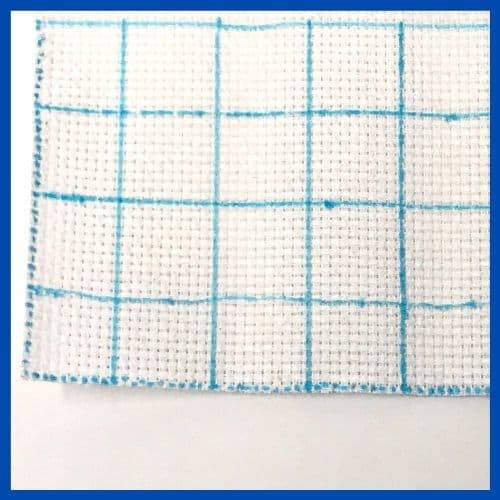
Grid the Frabric
Gridding is marking the fabric into a grid of 10×10 squares with erasable ink or with floss or even fishing wire that is later removed. The 10×10 squares resemble a pattern chart, making it easier to count the stitches – especially for full coverage pieces. But that would be an entire other article. 🙂
Click here to learn how to grid for cross stitch.
If you have a problem and you need help, please contact me. I’m here for you. 💙

